About techniques & materials
Since childhood I’ve always loved the experience of building something from scratch, and that extends to my art. For those who are technically inclined, here’s the nuts and bolts of how I create the artwork.
Digital Image Processing
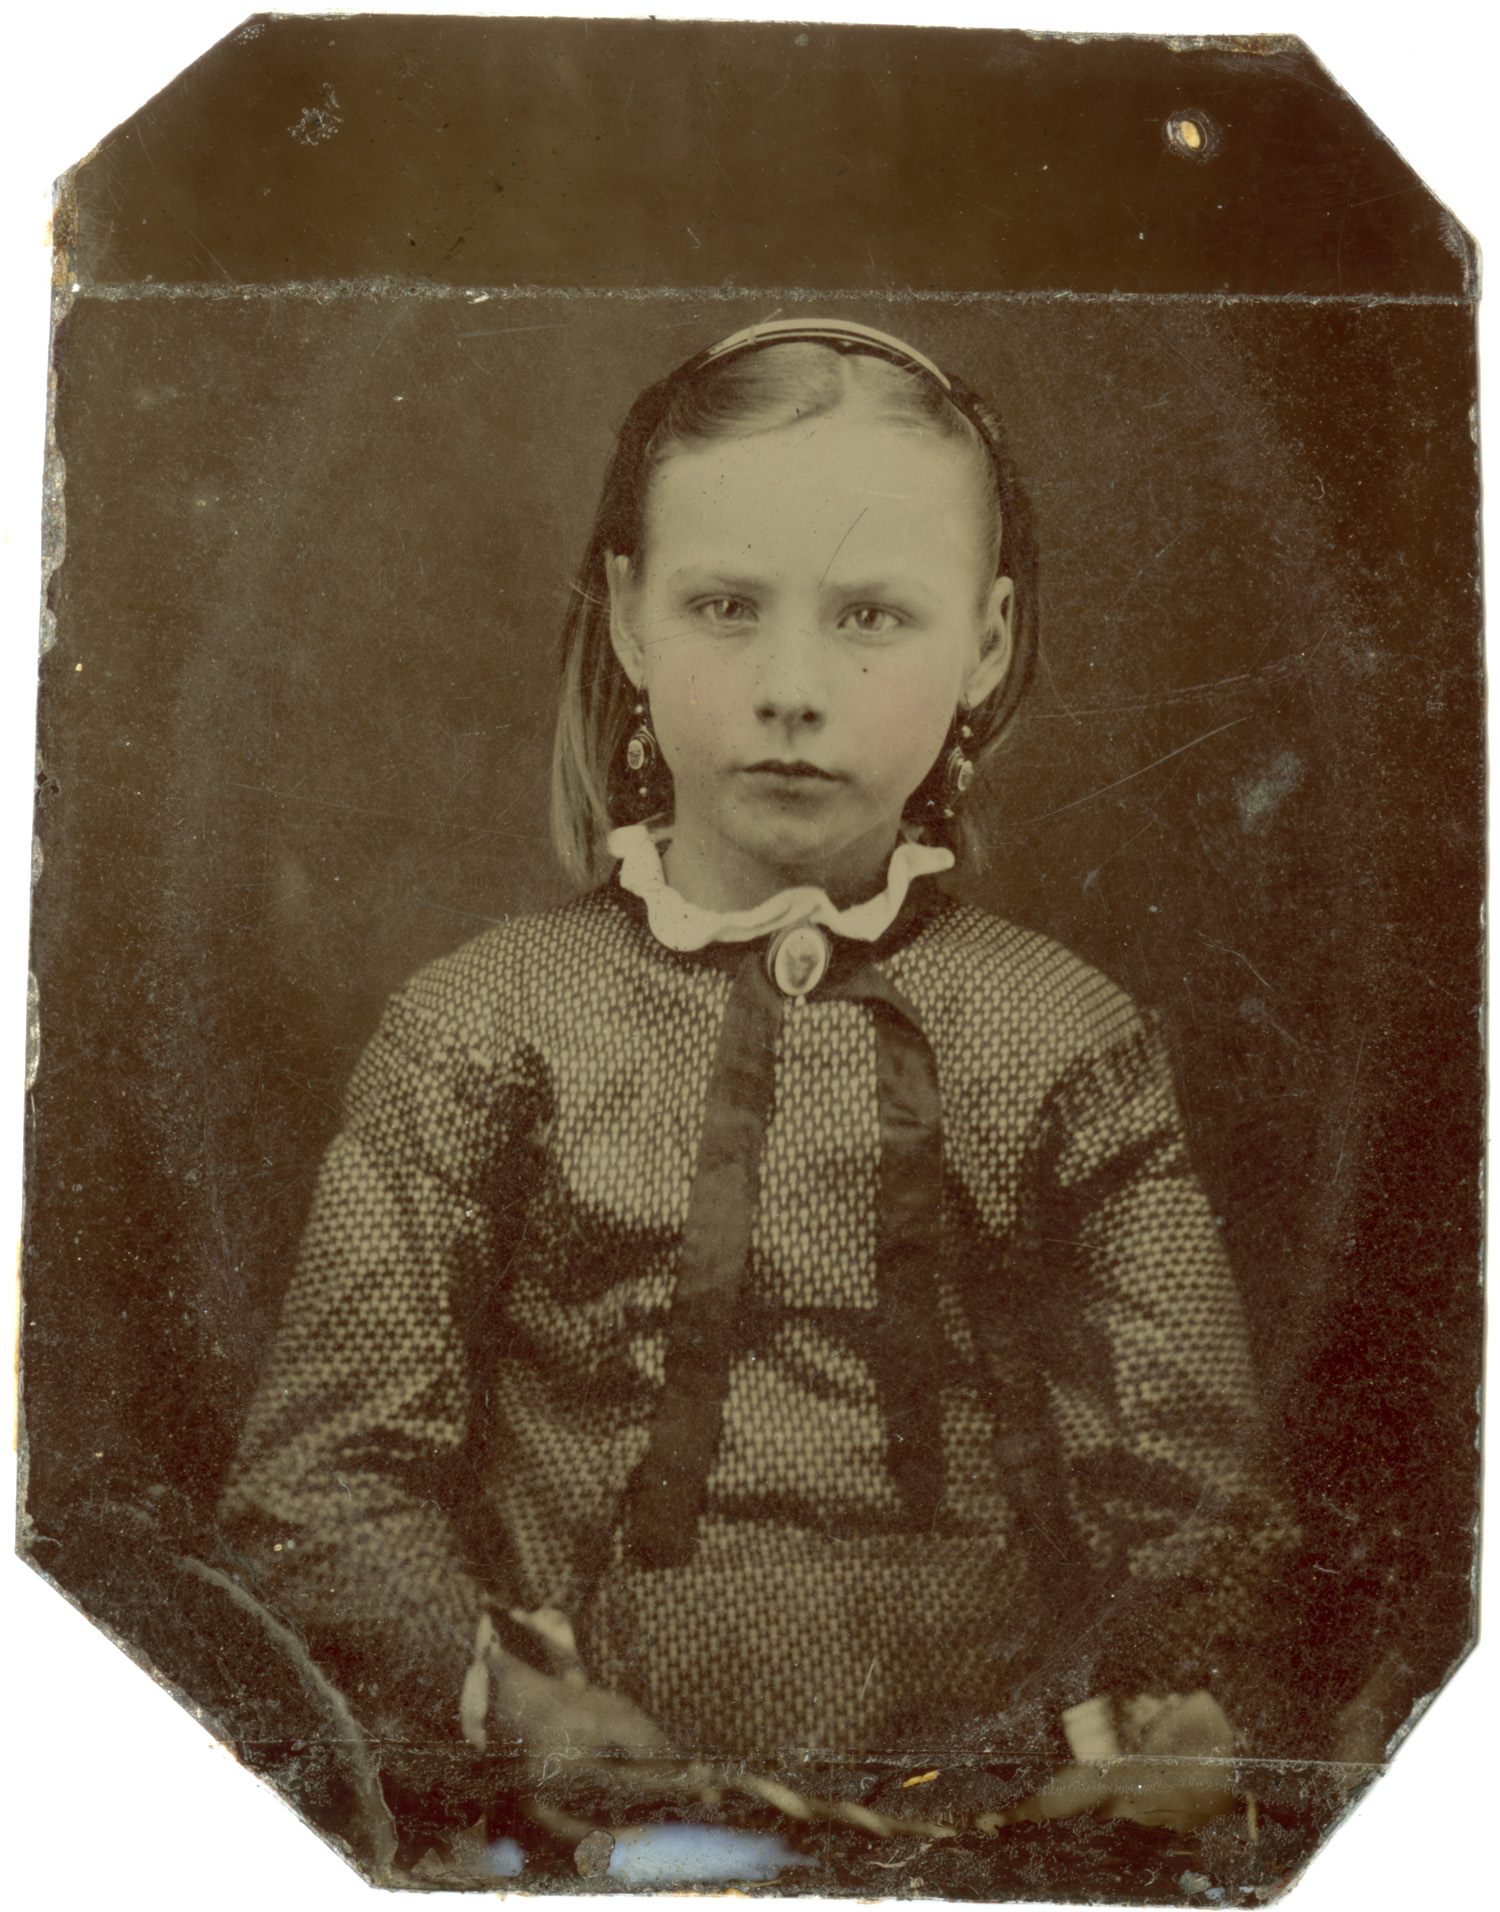
If my source is an original photo from my collection, I scan it at very high resolution (2000-3000dpi) on my Epson Expression 10000XL scanner. Then I clean up the image using Photoshop, mainly using the Clone Stamp and Spot Healing Brush tools. I digitally enhance the image, using a variety of adjustments depending on the state of the original and the effect I am aiming for, including adjusting levels, contrast, sharpness and color balance. For a before and after of the original un-retouched scan to the finished digital art, click here.
I often combine images from different sources into one new picture. This approach dates back to the earliest decades of photography, when the pioneers of this nascent art form stitched together different negatives to form an artistic piece that could never have been created in a single exposure.
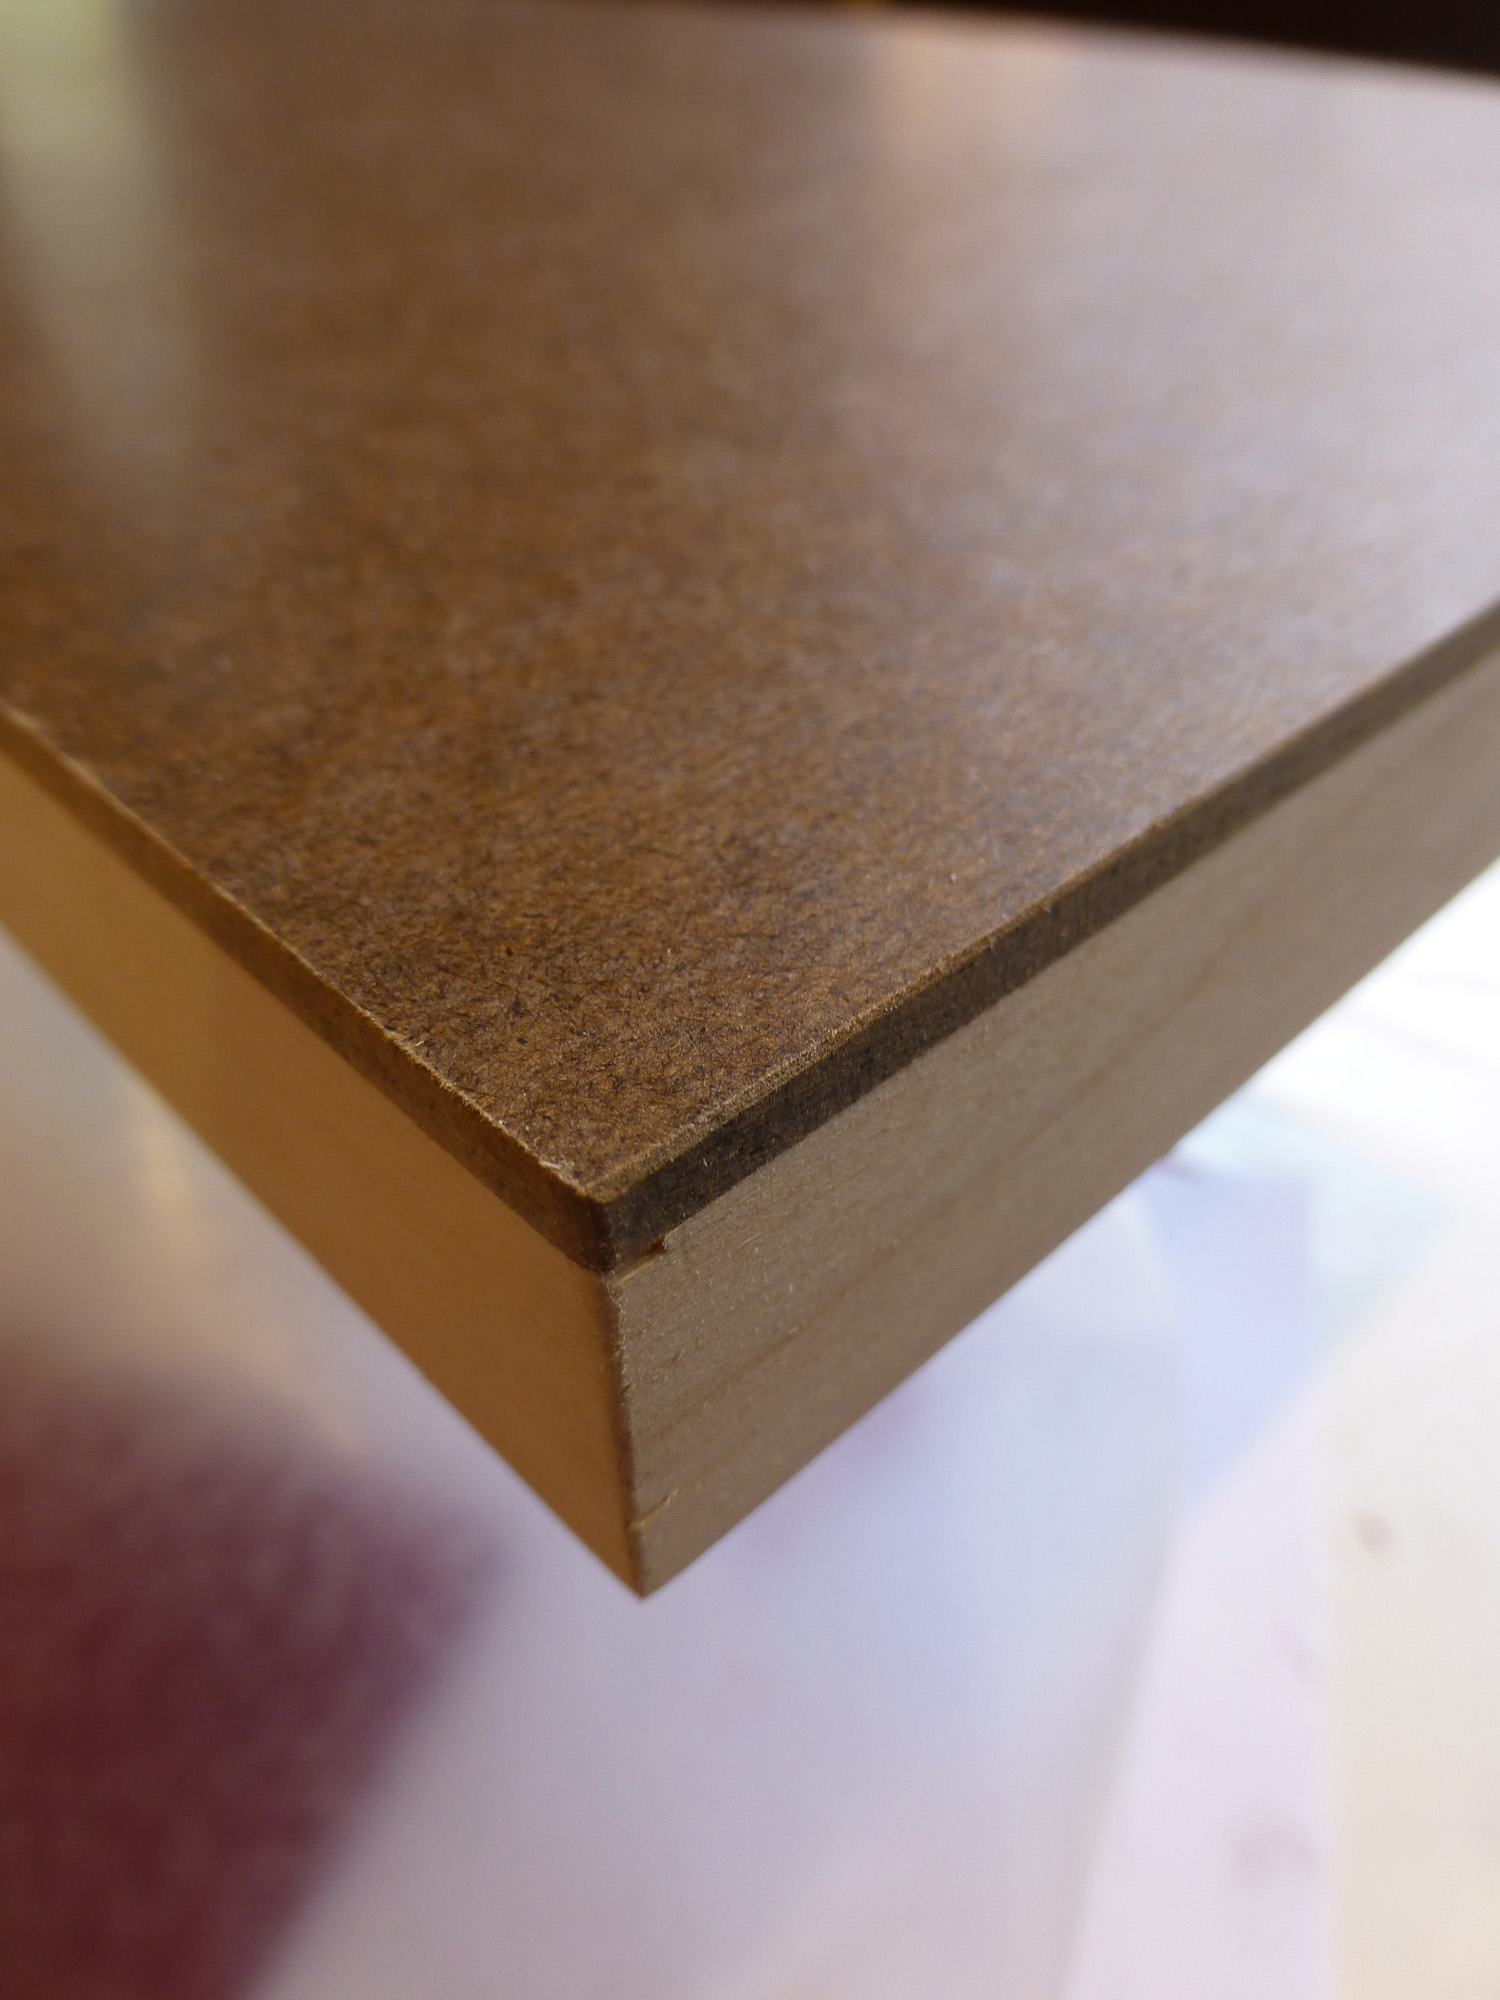
Wooden Art Panels
After testing various types of commercially available wooden art panels for mounting my work, at this point I only use Ampersand Art wooden artist panels. Compared to the other brands, they have the best build quality, and a range of different sizes and types. I originally bought their Natural Wood Panel, but recently have been using their Hardbord line.
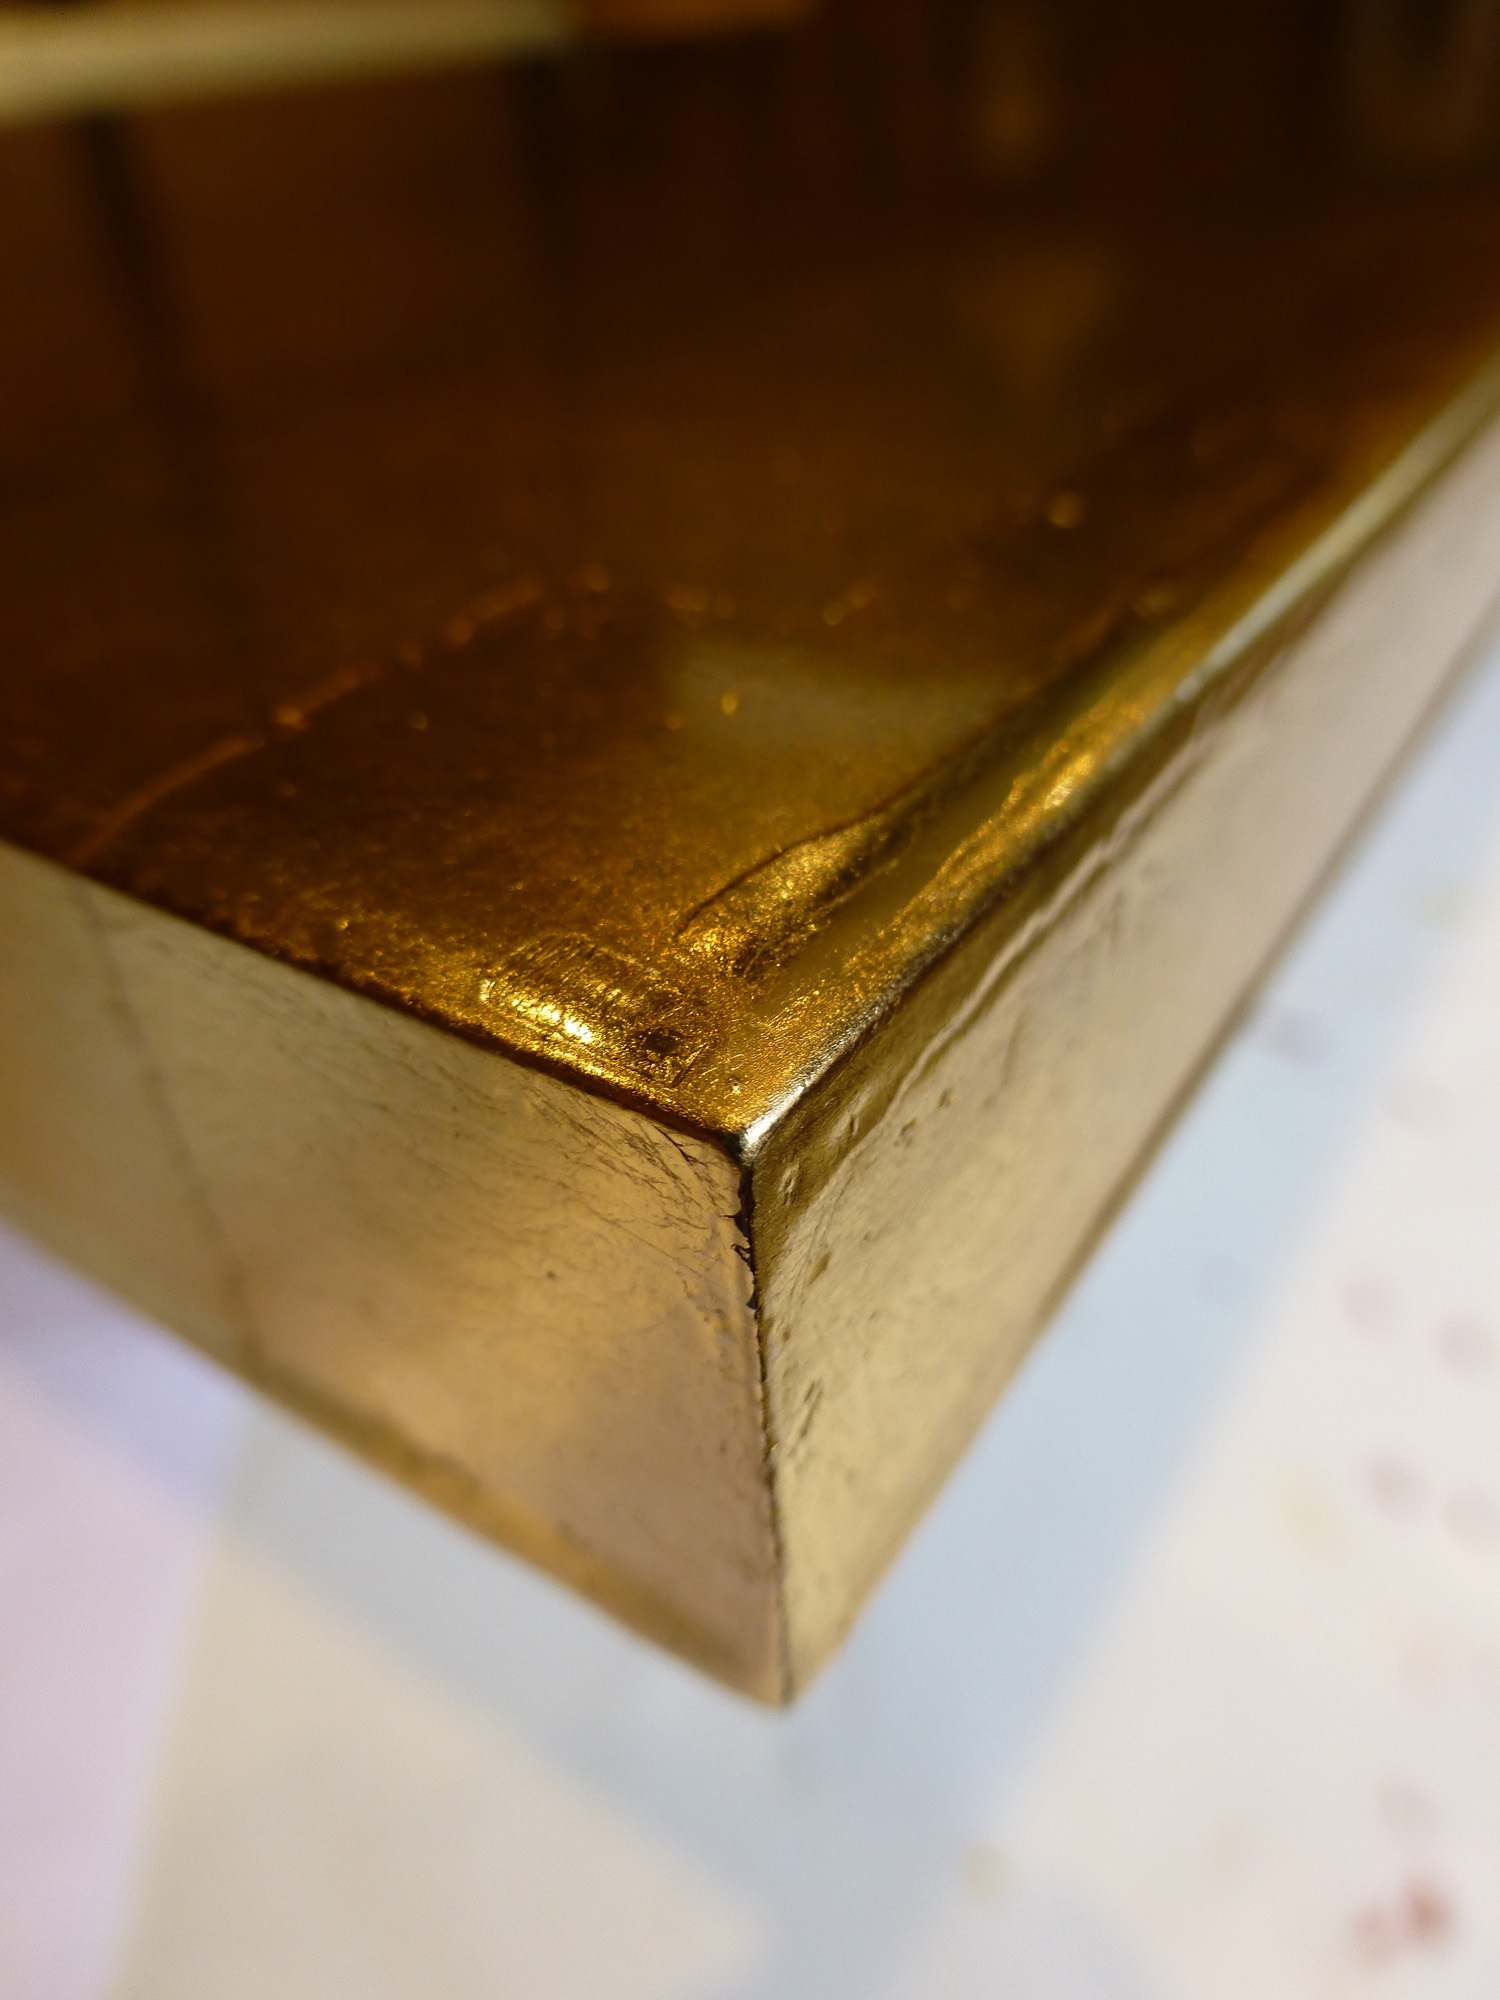
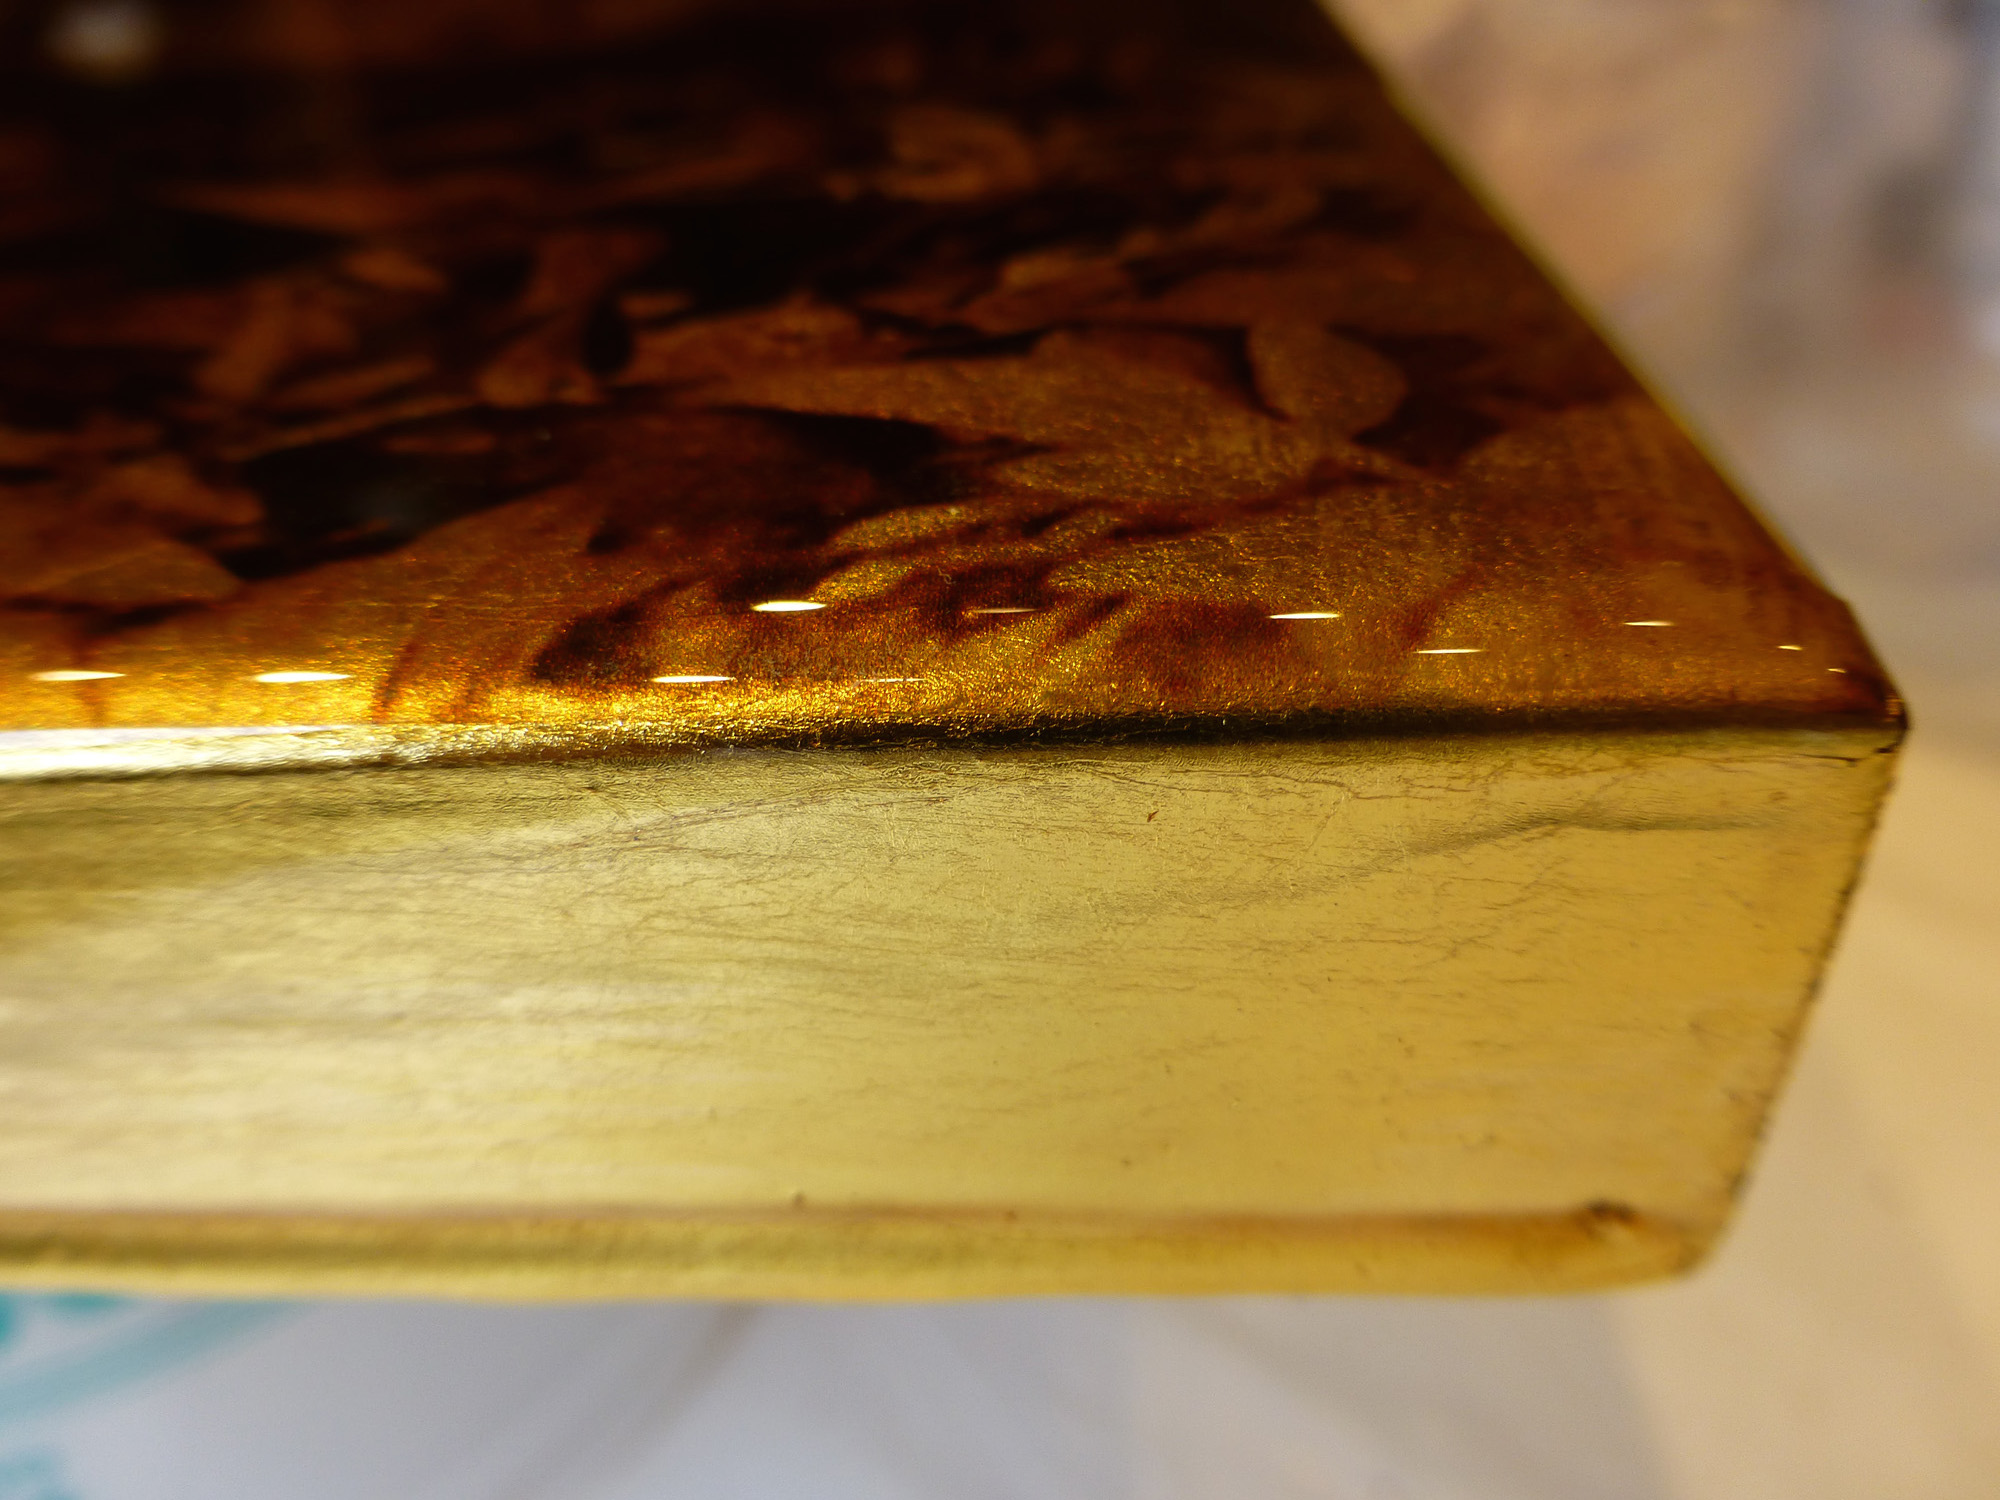
Metal Leaf
For metal leaf, I currently use the Italian Nazionale brand carried by Gilded Planet. Because I’m lazy, I use the slightly more expensive patent leaf format. Each sheet is mounted on wax paper, which makes application light years easier than using loose leaf. I use Dux quick dry sizing, and seal the leaf with Golden MSA Varnish w/UVLS (Gloss). Unlike genuine gold leaf, metal leaf contains metals that will oxidize and discolor if not sealed properly. Because I’ve found leaf looks best on the most smooth surface possible, I often pre-coat the panel with a layer of epoxy resin for a glass-smooth finish, before applying the sizing and leaf.
Images On Paper
For paper based output, I print the image on my Epson SureColor P800 printer (sized a bit bigger than the panel it will go on). I usually print to Moab Slickrock Metallic Pearl photo paper, which comes about as close as approximating the holographic effect of a dageurreotype as you can when printing to paper. I mount the print to the prepared wooden panel using Scotch acid-free Photo Mount. After it has set, I trim the extra edge off with an X-acto knife. I seal the image with multiple layers of Premier Art Print Shield, a UV and water resistant lacquer. If I am coating the final artwork with resin, I find that this preserves the original color values better than an oil based varnish or PVA glue, or just the epoxy resin without a pre-sealer; these all lead to a hazy, darker, discolored, or “wet-looking” image. If I’m printing to matte paper (usually Epson Cold Press Natural), I seal with Golden Soft Gel (Gloss), thinned to the recommended isolation coat consistency. After a couple of coats of this, I add a couple coats of the Premier Art Print Shield (the gel otherwise gets a milky haze when coated with resin).
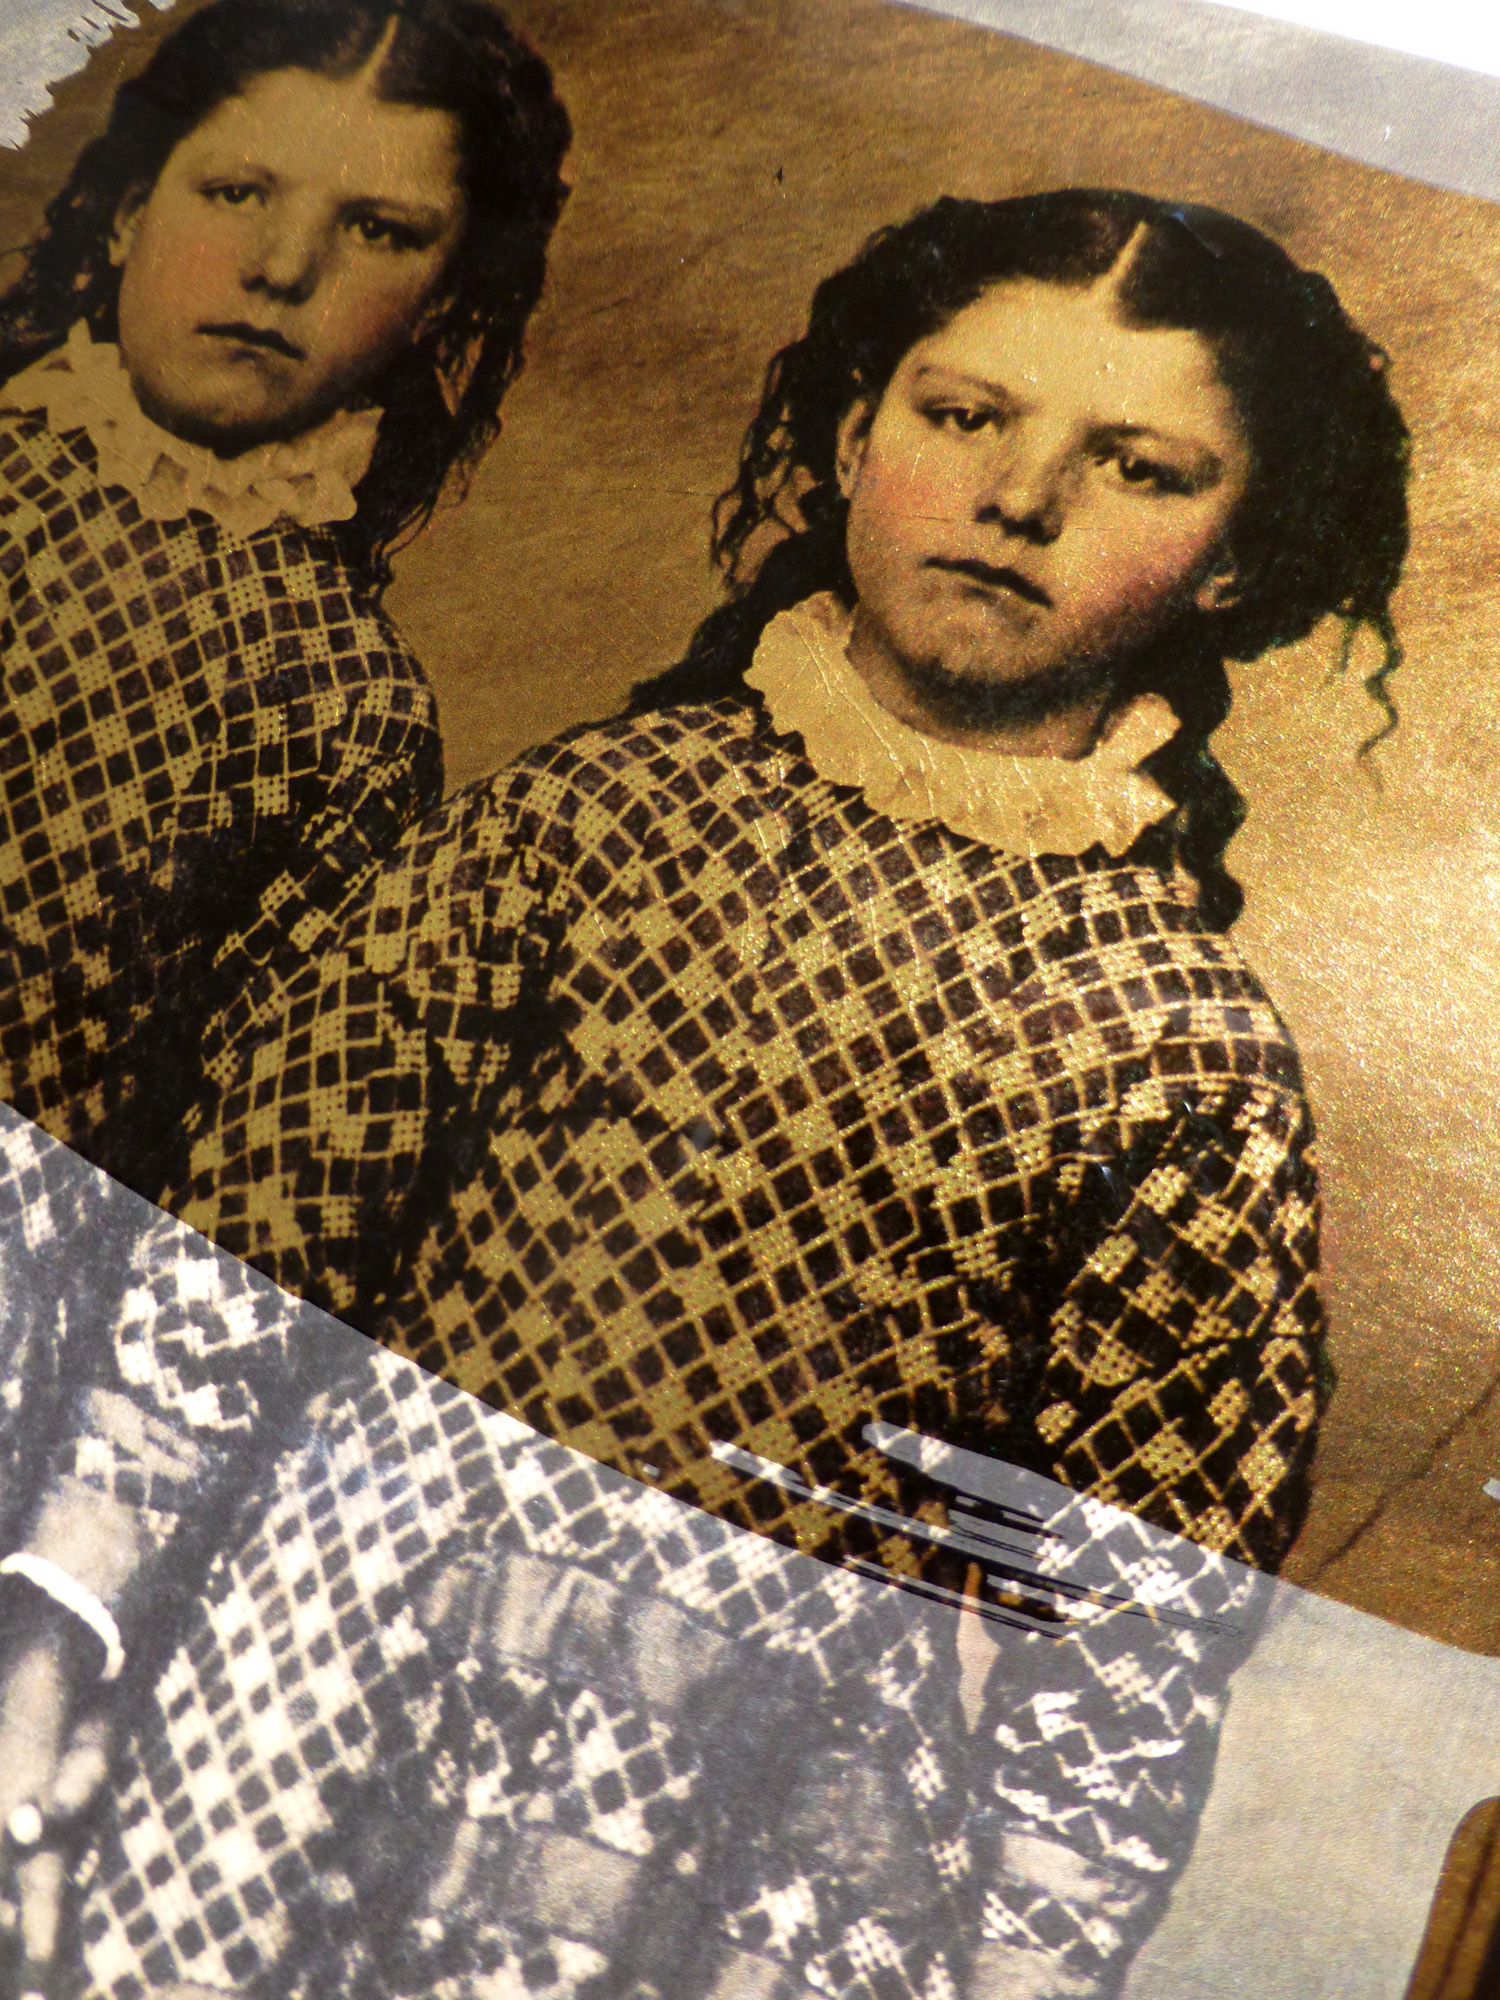
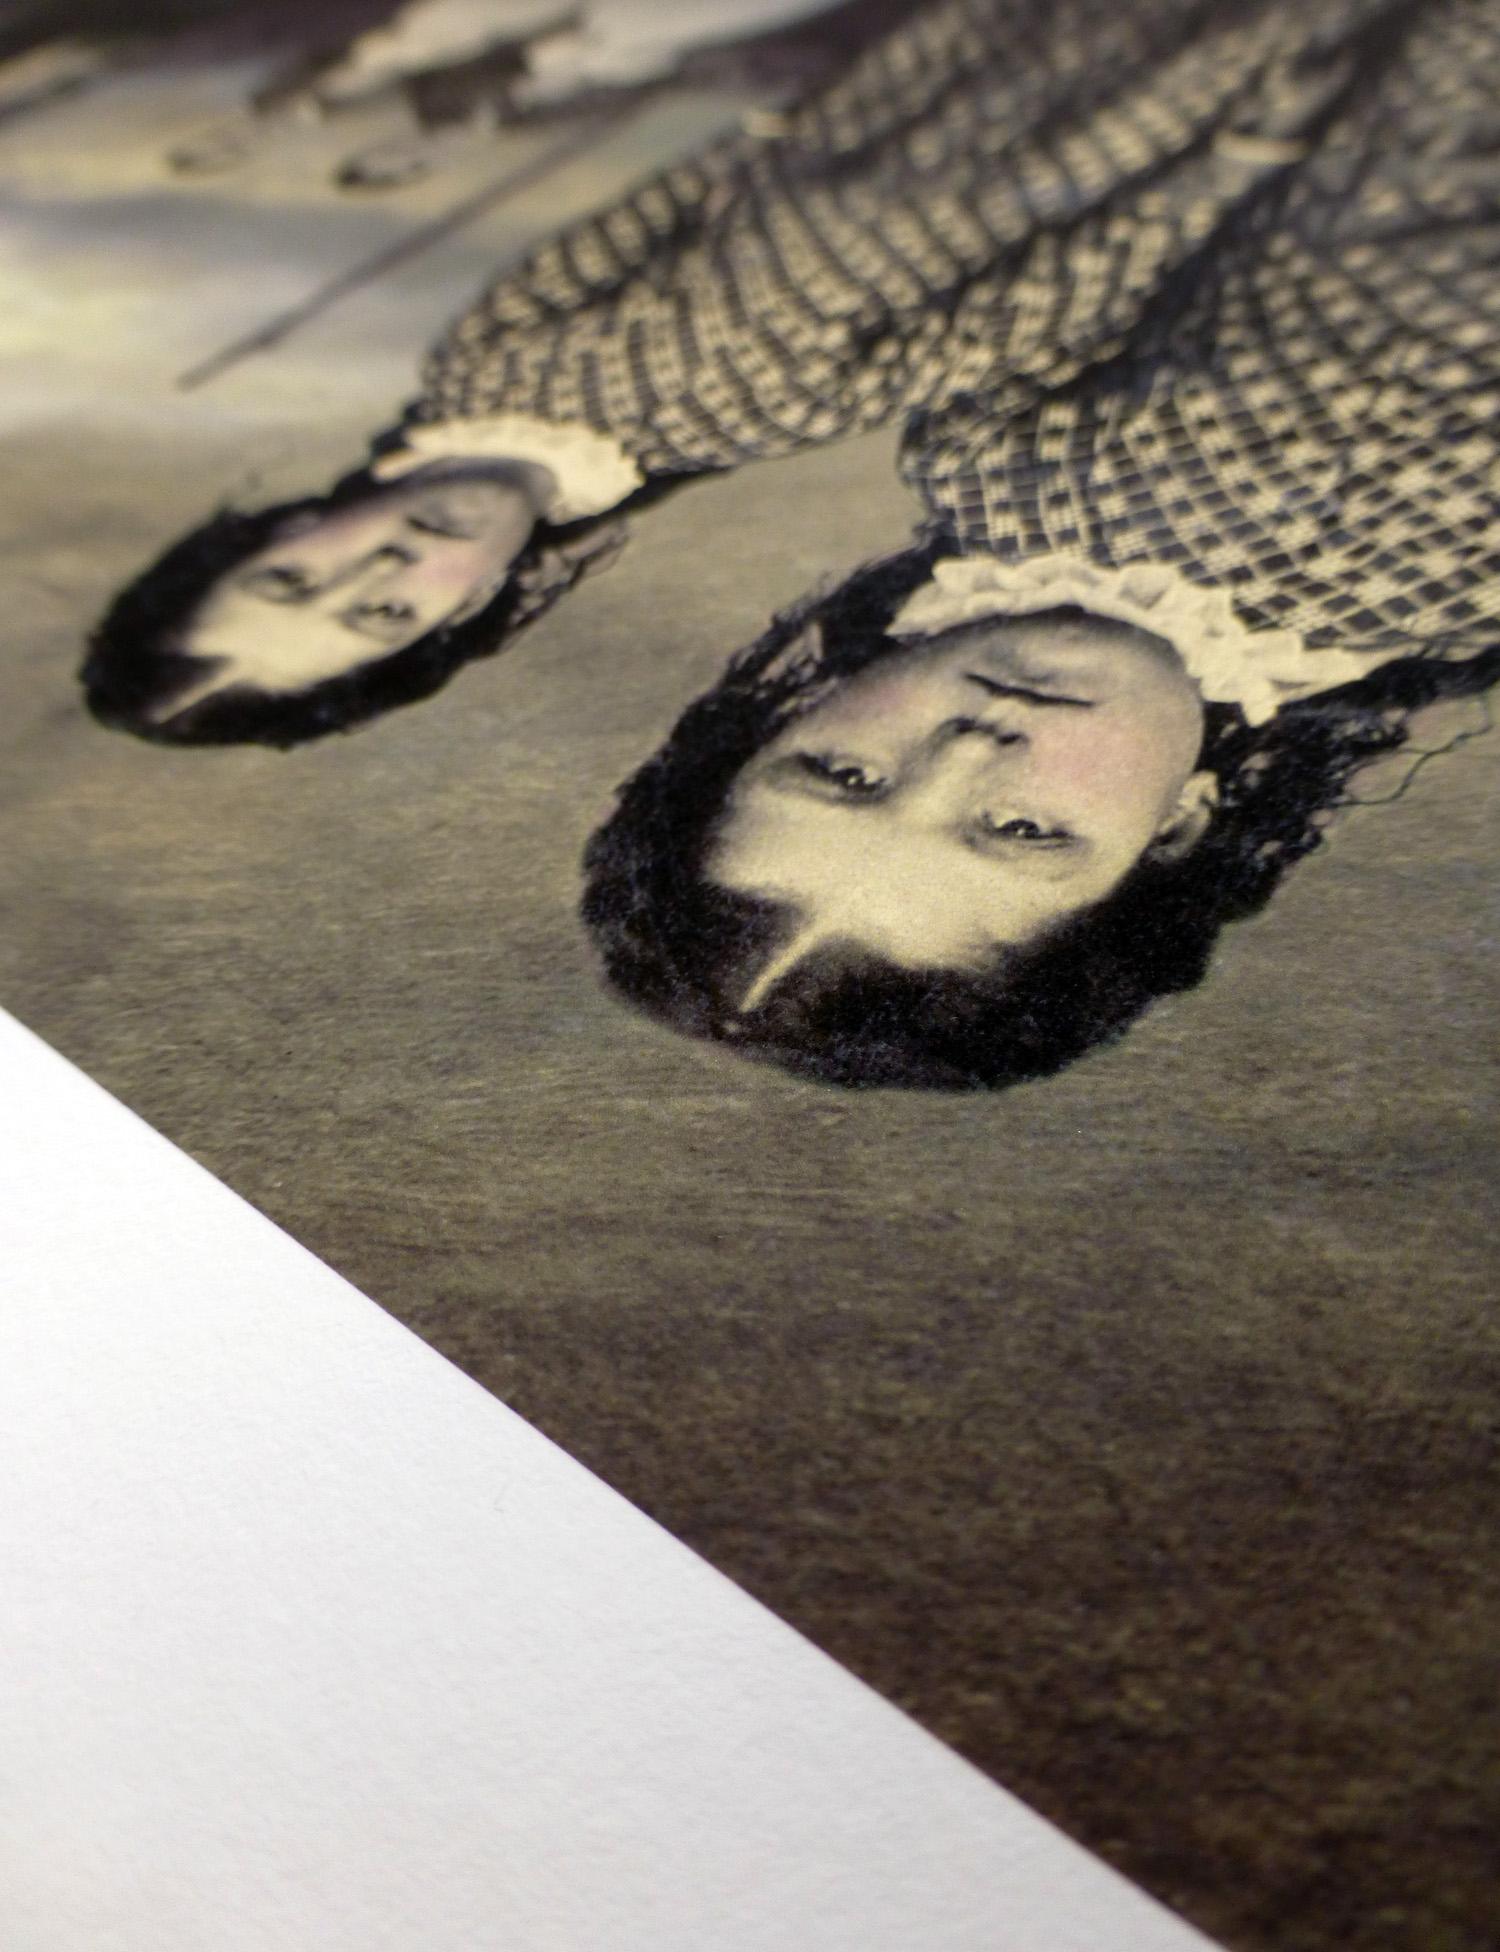
Images On Metal Leaf
If the image is destined for metal leaf, I print it on Lazertran Inkjet Waterslide Decal Paper. This medium has drastically different properties than regular paper, especially when transparent over metal leaf. Before printing, I have to extensively tweak the image in Photoshop, both lightening some tonal ranges and darkening others. Because the initial printed output looks quite different than when it is mounted on metal leaf, this process usually involves a lot of trial and error and multiple print tests. I mount the Lazertran sheet onto the varnished metal leaf; it dries to an eggshell finish, but then I coat it with a layer of Golden MSA Varnish w/UVLS Gloss (same as what I use to seal the leaf). This turns the Lazertran image transparent, effectively transforming it into a clear print on metal leaf. To see the same image contrasted on paper vs. on metal leaf, click here. Because the MSA varnish interacts very badly with the epoxy resin, I seal the final image with a couple of coats of Premier Art Print Shield.